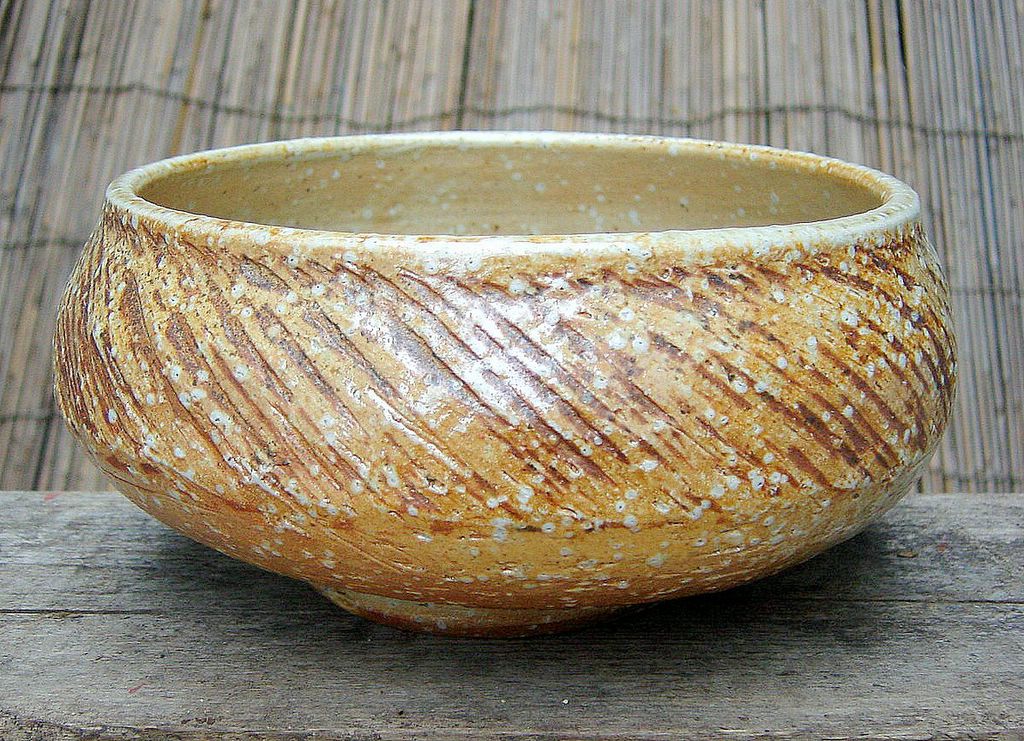
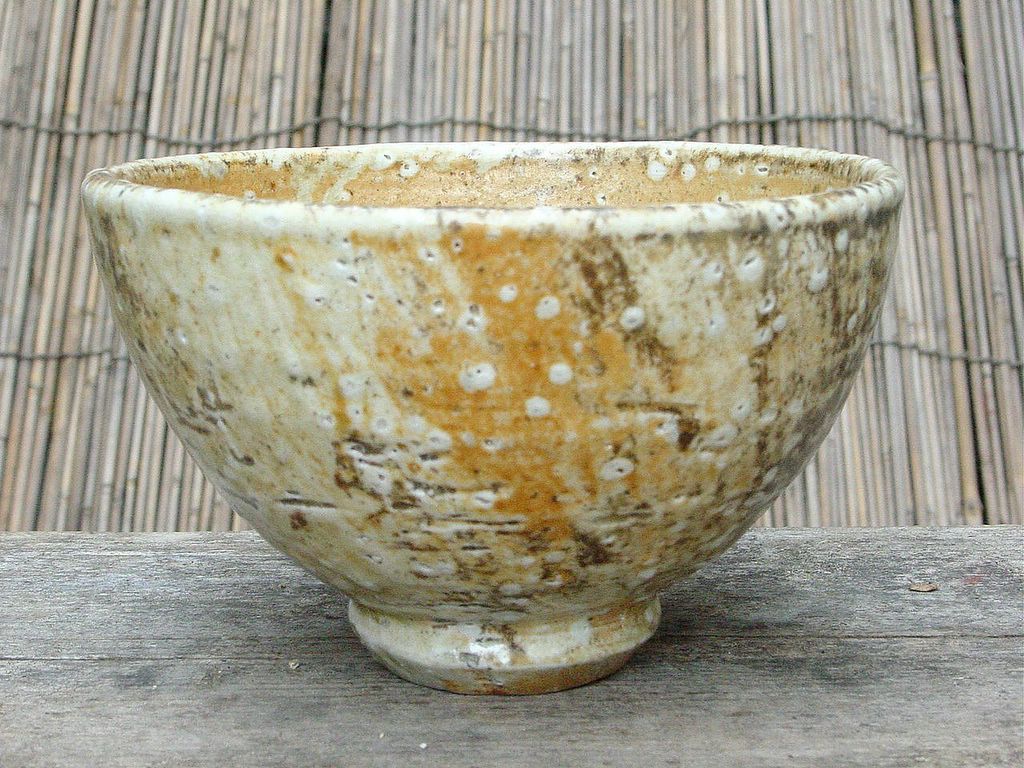
I posted this information back in Feb. 2000 from my experiences here in Mashiko. Round plates can be as easily made as square ones (we made square, oval, rectangular and round cornered square plates with this method.) Just make the slab template in the shape you desire, even irregular shapes. Using the bag of cornstarch and paper give the sides a nice curve. As someone on ClayArt told me in private mail after using this method, the clay coils shrink with the plate and this reduces warping. If you have any questions, please ask and I will do my best to explain. No need to wait for the book. ;^) The two posts follow below:
Date: Fri, 18 Feb 2000 11:13:46 EST
Reply-To: Ceramic Arts Discussion List
From: Lee Love
Subject: Re: square plates
--------- Forwarded message ----------
From: Lee Love
To: CLAYART@LSV.UKY.EDU
Date: Fri, 18 Feb 2000 11:13:46 EST
Subject: Re: square plates
Message-ID:
----------------------------Original message----------------------------
At the first pottery I working in, here in Mashiko (I worked there for two and a half months), the most interesting thing I learned was what they taught all the new employees in the beginning: making plates, sushi platters and pickle dishes just using a cutout, some newspaper and extruded clay coils (hebi nendo = clay snake.)
Most of the templates were cut out of light plywood and were either squares or rectangles or rounded cornered squares or rectangles, but you could actually use any shape and cut them out of card board. The clay is smoothed with a metal scraper on both sides. you then lay it on 3 sheets of paper on a board,the paper is a little bigger than the slab you use (we cut the slabs from a block of clay, using a cutting wire and cutting slats).
Lay the template down and cut the shape you want. Remove the excess clay. Then, take come clay snake and put it under the edge of the clay shape, so that half of the snake is covered by the edge of the slab. On square or rectangular shapes, you lay snakes at parallel ends, and then you lay the two other sides, with the ends crossing the first snakes. The snakes should be under two sheets of paper, and on top of the bottom sheet. Next, take a cotton bag filled with cornstarch (tie the end with a rubber band to hold the starch in) and smooth the slap from the middle to the edge. To get a nice smooth surface on the wall of the outside of the plate, lift the two pieces of paper and roll the cornstarch bag into the edge, toward the clay snake. When you have all the edges the way you want them, slide the form off of the board with the paper and snakes intact and leave it out to dry. When it is dry, you can smooth the edges with a
shammie.
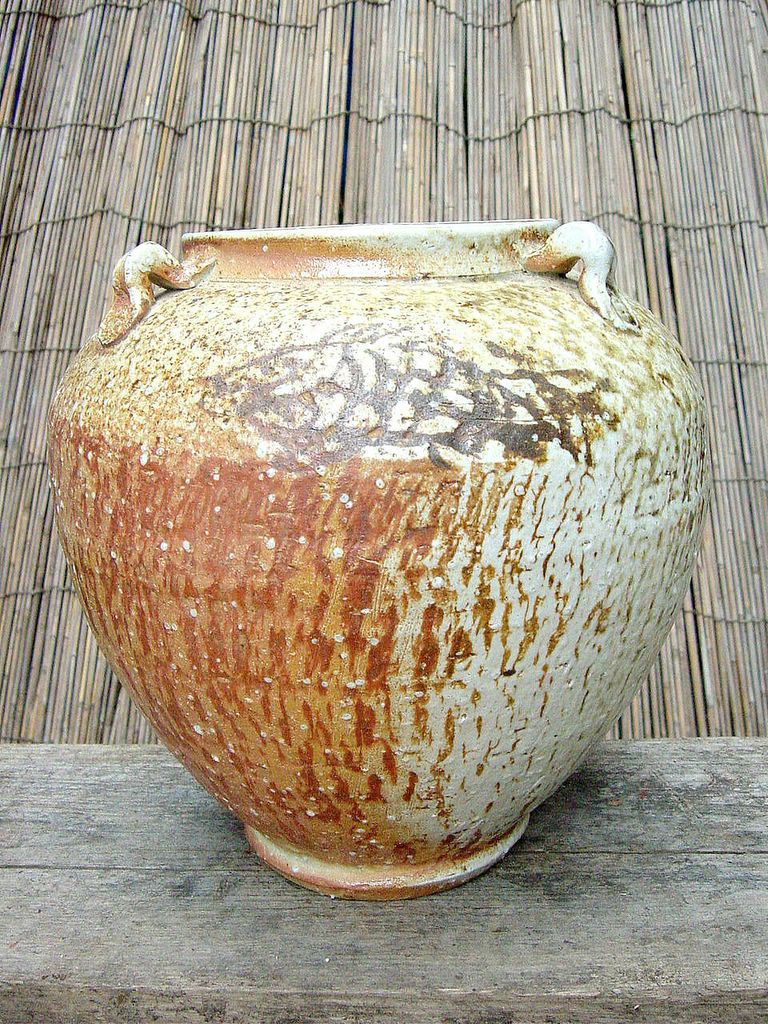
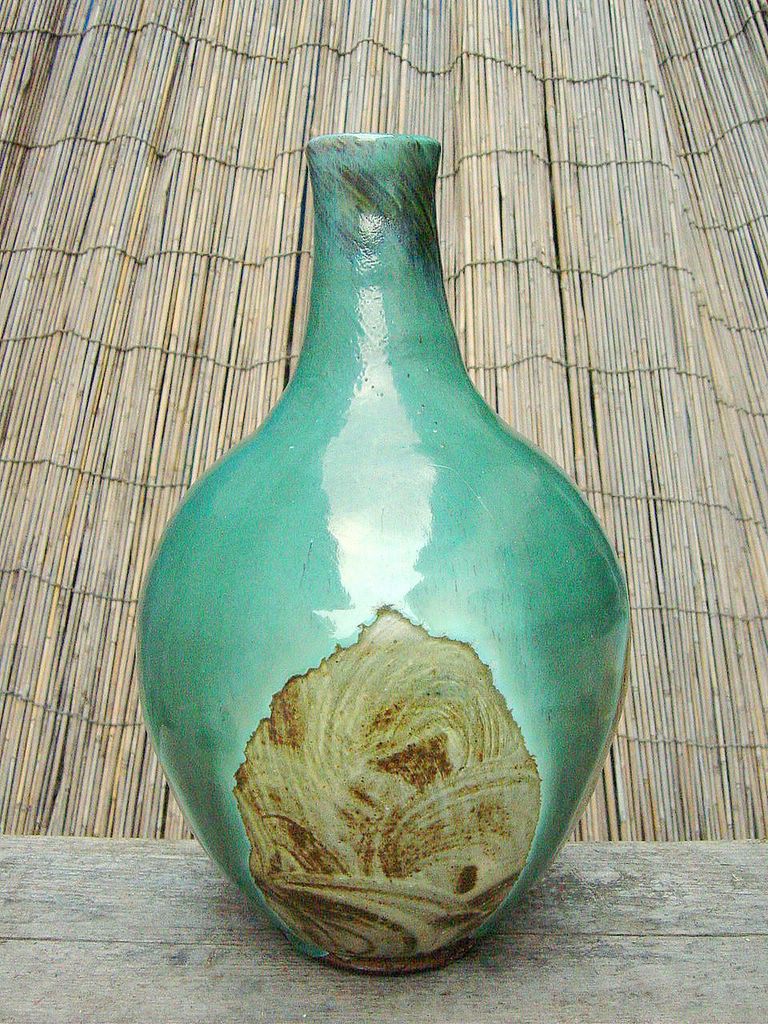
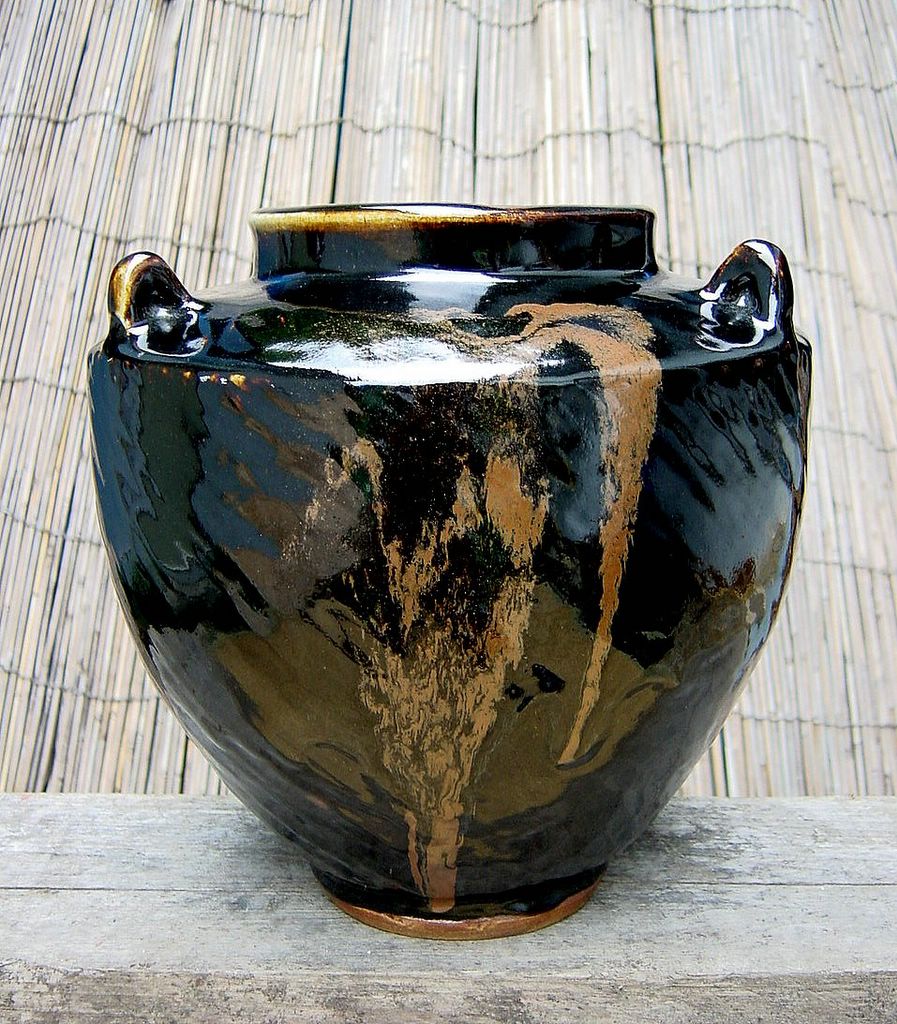
Where I work now, I am developing a new respect for molded work. I work next to the retired Forman who makes most of the molded bottles, jars, bowls, etc. Right now, he is making little calligraphy water droppers. I think he does most of the production of these molded forms and does the finishing, but the Sensei does the enamel work on them. I want to learn the mold work so my wife can make her own work and do he decoration on them. The slab work would also be nice flat surfacesn for her to put her imagery on.
--
Lee in Mashiko, Japan
----------------------------Original message----------------------------
Hi Curtis (I'll send a copy to ClayArt because I've received other questions
from there),
A quick note for now. (I'm moving the big stuff to our new house/studio today. And English potter from Kasama is coming over to help with his big van.)
You can make the snakes follow the exact shape of the slab, (I typoed slap for slab before) but it isn't necessary. For some reason, all the sides are the same, even if the parallel side snakes overlap the first ones. The snakes go under two of the papers, but over one paper. You need two papers for strength under the slab because otherwise they get wet and fall apart. The snakes I used were a little under an inch in circumference.
You pat with the cornstarch bag, otherwise, you smudge the clay. The cloth bag gives the plate a nice texture.
You lift the paper at the edge of the slab to give the side a nice curve and so that you don't imprint the snake on the outside edge. If you don't lift the paper toward the bag when you get to the edge, you with have a concaved indentation on the outside of the edge of the wall.
The paper under the snakes is so that you can move the snakes and the slab together, after you are finished shaping. The snakes remain with the plate until it is hard enough to hold its shape. At that time, you smooth the edges with a shammie.
Hope this clarifies my post. Please write with more questions if it didn't. :^) My wife is going to clobber me if I don't get off of my "Toy" and start packing. ;^)
--
Lee in Mashiko, Japan Ikiru@Kami.com
~~~~~~~~~~~~~~~~~~~~~~~~~~~~~~~~~~~~~~~~~~~~~~~~~~~